How a Red Dot Changes Your Shooting Technique
Switching from iron sights or magnified optics to a red dot changes more than what you see through the glass. It also changes how you shoot. The red dot’s single focal point speeds up target acquisition, alters your cheek weld, and sharpens your follow-up shots. Whether you’re running drills on the range, training for defense, or sighting in a new rifle, understanding these differences can make you faster and more accurate.
Sight Picture and Focus
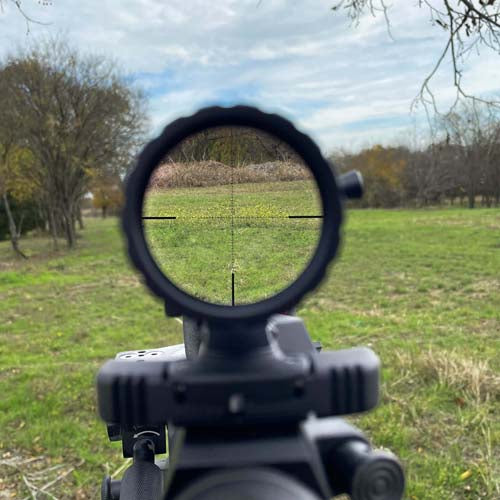
Traditional iron sights demand three points of alignment: rear, front, and target. Your focus shifts between them, and your accuracy depends on how precisely you line up all three. When you aim with iron sights, your focus should ideally be on the front sight post, blurring both the target and the rear sight. However, with a red dot sight, that visual juggling act disappears. You simply keep both eyes open, look at the target, and place the dot where you want the bullet to go.
That shift in focus to your target instead of your front sight post means your eyes stay on the threat or the game animal. You’re not trying to bring a tiny blade into focus under stress or low light. Your brain spends less time processing alignment and more time reacting. This is why shooters who switch to red dots often report faster reaction times and better performance under pressure.
Aimpoint Instead of Alignment
While iron sights demand perfect alignment, a red dot rewards consistent presentation. The moment the optic appears in your sightline, the dot is usable, even if your cheek weld or pistol presentation isn’t picture-perfect. That freedom saves fractions of a second during a draw or shoulder mount and allows you to shoot from unorthodox positions, which would be impossible to accomplish through iron sights.
The dot’s position may shift slightly with head movement, but it still indicates where your shot will land if the sight is properly zeroed. This lets shooters focus on form and follow-through rather than chasing alignment. The red dot doesn’t excuse poor fundamentals, but it removes unnecessary friction between your intent and the shot.
A More Natural Shooting Posture
It might surprise some new red dot users to know that a red dot changes how you stand and how you bring the gun to your eye. Iron sights encourage a low, forward-leaning stance with a tight cheek weld. A red dot invites a more upright, eyes-forward posture.
For pistols, this difference shows immediately. Iron-sight shooters often dip their heads or raise their shoulders to line up the sights. With a red dot, the focus shifts to presentation—bringing the gun to your line of sight instead of bringing your sight to the gun. That means drawing smoothly, keeping the gun high, and presenting until the dot appears naturally on target.
On rifles, a consistent mount still matters, but the forgiving eye position allows faster transitions between targets. Instead of fighting for the perfect cheek weld, you’re simply driving the gun with your upper body and letting the optic do its job.
Faster Follow-Ups and Recoil Control
The biggest performance change you’ll notice is how fast you can recover between shots. Because the red dot allows target focus, your eyes never leave the threat area. When the gun recoils, you track the dot’s movement rather than re-acquiring your sights. Once the dot returns to the target, you’re clear to fire again.
This visual feedback tightens your rhythm. The dot’s bounce shows how your grip and stance manage recoil. Smooth, vertical movement indicates proper control; wild diagonal arcs mean something needs adjustment. Over time, this feedback loop builds steadier shooting habits than you’ll ever get from irons alone.
How Red Dots Differ Across Platforms
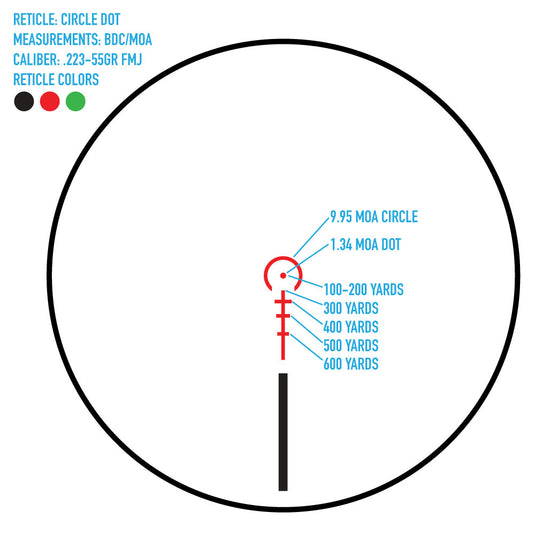
On pistols, a red dot sits higher than irons, changing how you present the gun. It takes practice to find the dot quickly—many shooters initially “fish” for it because they overextend or cant the pistol. Consistent draws and dry-fire practice solve this quickly. A larger dot, such as 6 MOA, often works best for pistols because the eye picks it up faster at close range.
Rifles benefit from smaller dots, typically 2–3 MOA, to allow finer aiming at distance. The red dot excels in close and mid-range shooting—inside 200 yards for most calibers—where speed matters more than magnification. For longer shots, a magnifier can extend that range without changing your shooting fundamentals.
Shotguns gain tremendous advantage from a red dot when hunting or training for home defense. Instead of following the bead, you simply keep the target in focus and place the dot where you want your pattern to land. The visual clarity shortens the time between target recognition and shot, which is critical when things happen fast.
Training to Master the Dot
Like any sight system, a red dot demands repetition. A common issue for new users is losing or “fishing” for the dot, but that’s a problem of presentation, not equipment. Fix it with dry-fire drills. Face a blank wall, draw or shoulder your firearm, and bring it up until the dot appears naturally in your sightline. Repeat until the movement feels automatic—when the gun comes up, the dot should already be there.
On the range, start close—three to five yards—and fire slow, deliberate shots. Watch how the dot moves during the trigger press. If it drifts, your trigger control needs work. Once you can keep the dot stable, move back and increase speed. At seven to fifteen yards, practice controlled pairs: fire two rounds, track the dot through recoil, and fire again as soon as it settles. The goal isn’t spraying rounds fast—it’s getting the second shot on target as quickly as you can see it.
As your skill improves, incorporate movement and transitions. Engage multiple targets, shifting your eyes first, then the gun. The dot will follow naturally if your body mechanics are clean. This reinforces the key advantage of a red dot: the freedom to stay focused on your environment rather than your sights.
Avoiding Common Mistakes
The most common error new red dot shooters make is focusing on the dot itself instead of the target. The dot should be transparent—your attention stays on what you’re aiming at. If you’re losing the dot in recoil, you may be gripping too loosely or breaking your wrist at the shot. Fix your stance, not the sight.
Another issue is improper mount height. A red dot that sits too high forces awkward head positions and inconsistent cheek welds. Use mounts appropriate for your platform and verify that your sight aligns naturally when you bring the firearm up. Lastly, don’t neglect zeroing. A red dot can’t compensate for poor setup; confirm your zero at practical ranges and lock your mount securely.
The Takeaway
A red dot sight simplifies aiming but demands discipline. It removes the visual clutter of iron sights, allowing your eyes to stay on target, but it also exposes every flaw in your trigger press and recoil control. Embrace that feedback—it’s what makes you faster and more accurate.
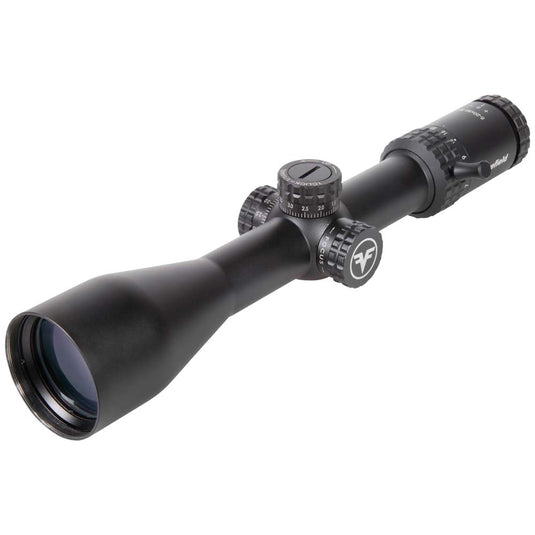
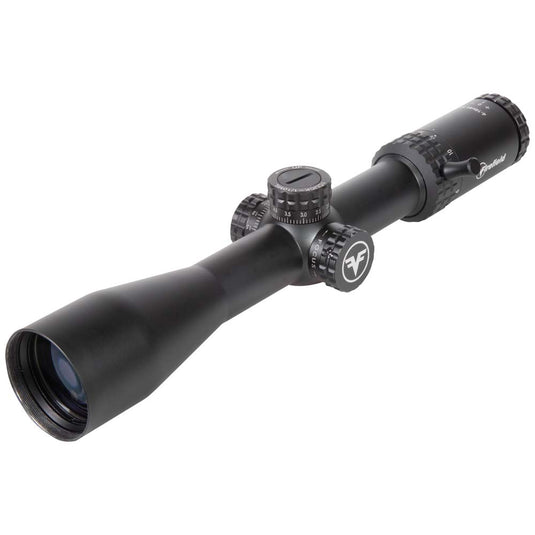
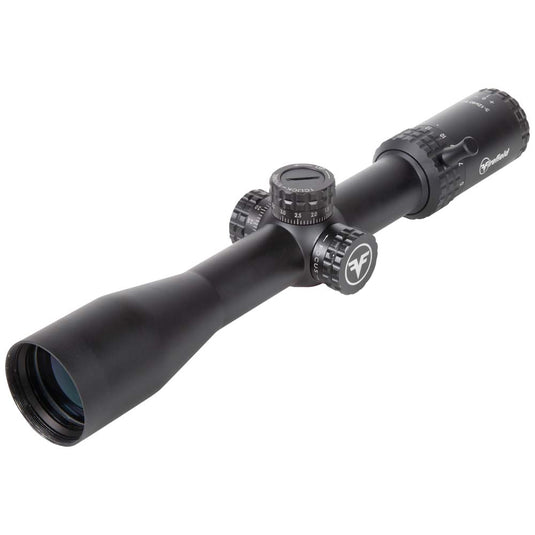
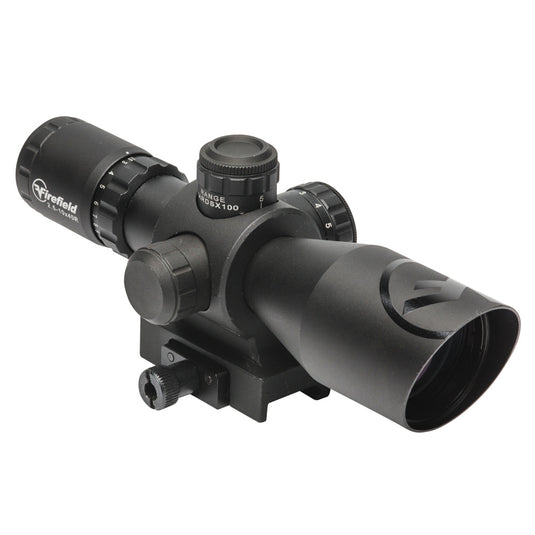
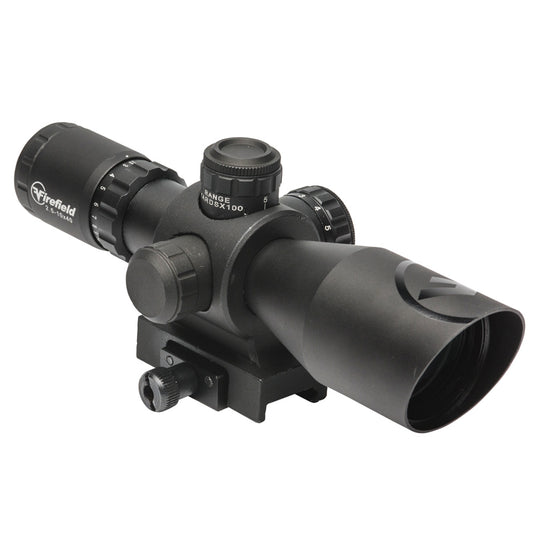
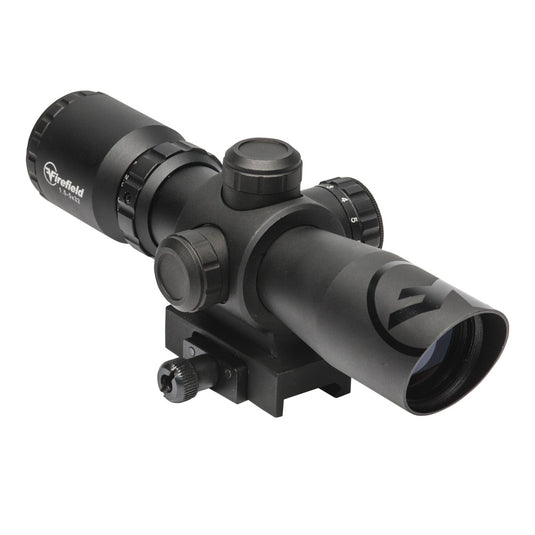
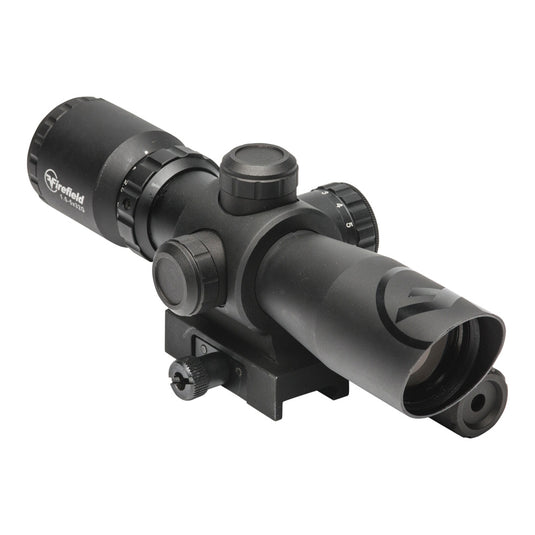
For shooters who want to train smarter, a red dot is more than an upgrade. It’s a teacher. And Firefield’s line of affordable, rugged red dots lets you make that leap without breaking the bank. Check out the latest models on Firefield’s red dot collection and see how your shooting changes once you let the dot lead.
Frequently Asked Questions
How does a red dot sight change aiming compared to iron sights?
A red dot replaces the three-point alignment of irons with a single focal point on the target. Instead of focusing on a front sight post, you keep both eyes open, look at the target, and place the dot where you want the bullet to go. This reduces visual processing and speeds target acquisition.
Will switching to a red dot hurt my long-range accuracy?
Red dots excel at close to mid ranges (typically inside ~200 yards). For precise long shots, use a smaller MOA dot on a rifle or pair the red dot with a magnifier. Fundamentals like trigger control, zero, and consistent mount remain essential for long-range accuracy.
What dot size should I use for pistols, rifles, and shotguns?
Pistols usually benefit from larger dots (for example, around 6 MOA) for faster pickup at close range. Rifles generally use smaller dots (2–3 MOA) for finer aiming at distance. Shotguns work well with larger dots because the emphasis is on pattern placement and speed rather than pinpoint precision.
Why do I "fish" for the dot and how do I stop it?
"Fishing" is a presentation problem, not a sight problem. Fix it with dry-fire practice: repeatedly bring the firearm up to a blank wall until the dot appears naturally in your sightline. Build a consistent draw or mount so the dot is already present when your eyes find the target.
Do I need a special mount or adjustments when installing a red dot?
Use a mount that provides the correct height for natural presentation on your platform. Improper mount height forces awkward head positions and inconsistent cheek welds. Verify zero at practical ranges and secure the mount to prevent shifts under recoil.